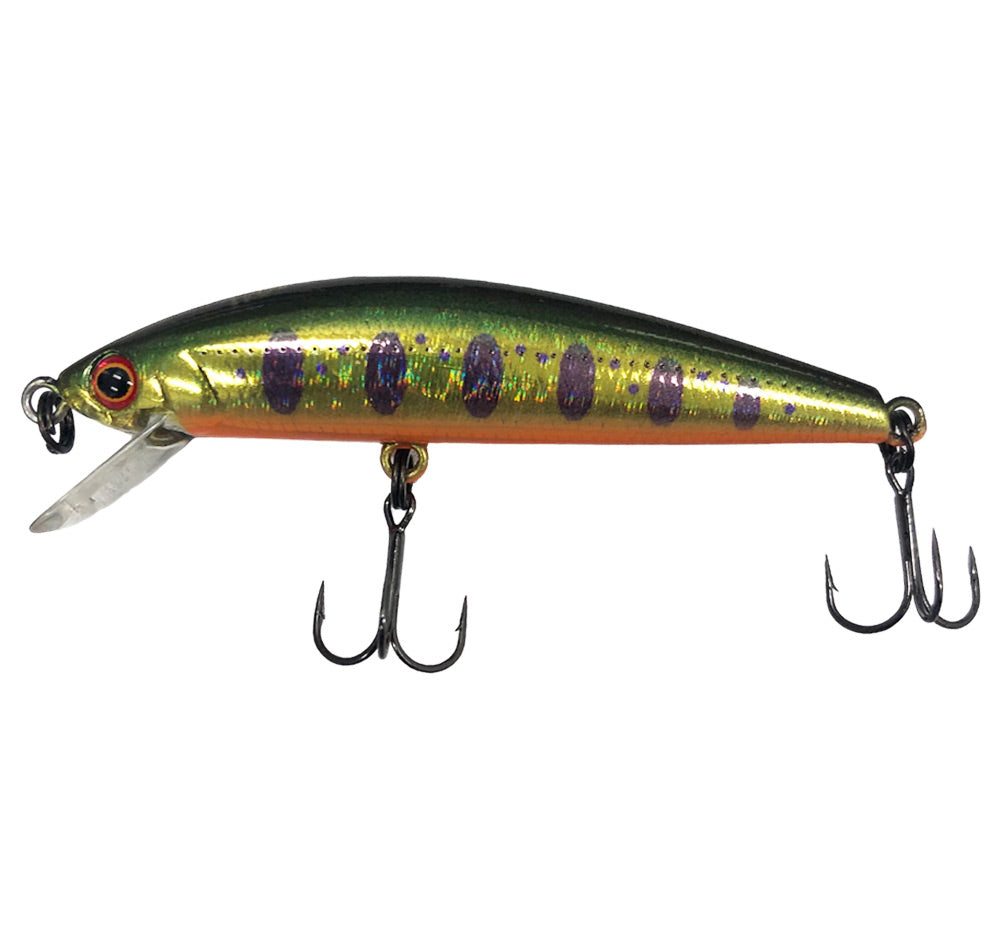
Fishing is a timeless pastime that connects people to nature and provides a rewarding challenge. For many anglers, the thrill doesn’t end at casting a line—it extends to crafting their own fishing lures. Building your own lure can be a fun, creative, and practical project that enhances your fishing experience. If you’re new to lure making, don’t worry! This guide will walk you through the basics of lure building, offering a simple project to get you started fishing bait manufacturer.
Why Build Your Own Lures?
Commercial lures are effective, but making your own offers unique benefits. Custom lures allow you to tailor the size, shape, color, and action to match local fish preferences and water conditions. Plus, creating your own lure deepens your understanding of fish behavior and fishing techniques. Most importantly, lure building is an enjoyable craft that adds a personal touch to your fishing gear.
Materials You’ll Need
For a beginner-friendly project, start with a basic wooden lure, such as a small crankbait. Here’s what you’ll need:
-
A small block of balsa wood (easy to carve and lightweight)
-
A sharp hobby knife or carving tools
-
Sandpaper (various grits, from coarse to fine)
-
Waterproof paint or markers
-
Clear waterproof sealant or epoxy
-
Split rings and treble hooks (available at fishing tackle stores)
-
Small eye screws or lure eyes
-
A drill or small hand tool to make holes
Step-by-Step Guide to Building a Simple Crankbait
-
Design Your Lure
Begin by sketching the shape of your lure on paper. A simple oval or minnow shape works well for beginners. Transfer your design onto the block of balsa wood. -
Carve the Lure Body
Using your knife, carefully carve the block following your outline. Aim for smooth curves to imitate the body of a small fish. Take your time and remove small amounts of wood to avoid mistakes. -
Shape and Sand
Once you have the rough shape, use sandpaper to smooth the surface. Start with a coarser grit to refine the shape and move to finer grits for a smooth finish. -
Drill Holes for Hardware
Drill small holes for the eye screws where the hooks and line tie will be attached. This usually means one hole at the front for the line tie and one or two underneath for hooks. -
Painting Your Lure
This is where you can get creative. Paint your lure with waterproof paint or permanent markers. Consider natural fish colors like silver, green, or brown, or go bold with bright colors to attract attention. Let each layer dry before adding details like spots or stripes. -
Seal the Lure
Apply a clear waterproof sealant or epoxy coating to protect your paint job and strengthen the lure. This also gives the lure a glossy, professional look. -
Attach Hardware
Screw in the eye screws, attach split rings, and hook your treble hooks in place. Ensure everything is secure and swivels freely.
Testing Your Lure
Before hitting the water, test your lure by gently pulling it through water or using a bucket. It should wobble or dive in a way that mimics a swimming fish. Adjust the shape or weight if needed for better action.
Final Thoughts
Lure building is a rewarding hobby that combines craftsmanship with fishing passion. Starting with simple materials and steps makes the process approachable for beginners. Once you get the hang of it, you can experiment with more complex designs and materials like plastic or metal.
By crafting your own lures, you not only save money but also create a personalized fishing experience. So grab your tools and dive into this simple lure-building project—it’s a fantastic way to enhance your fishing adventures and maybe even catch your next big fish!
